Professional Electronic In/Out Board
|
Chapter 3 - Configuring Staffinder Settings
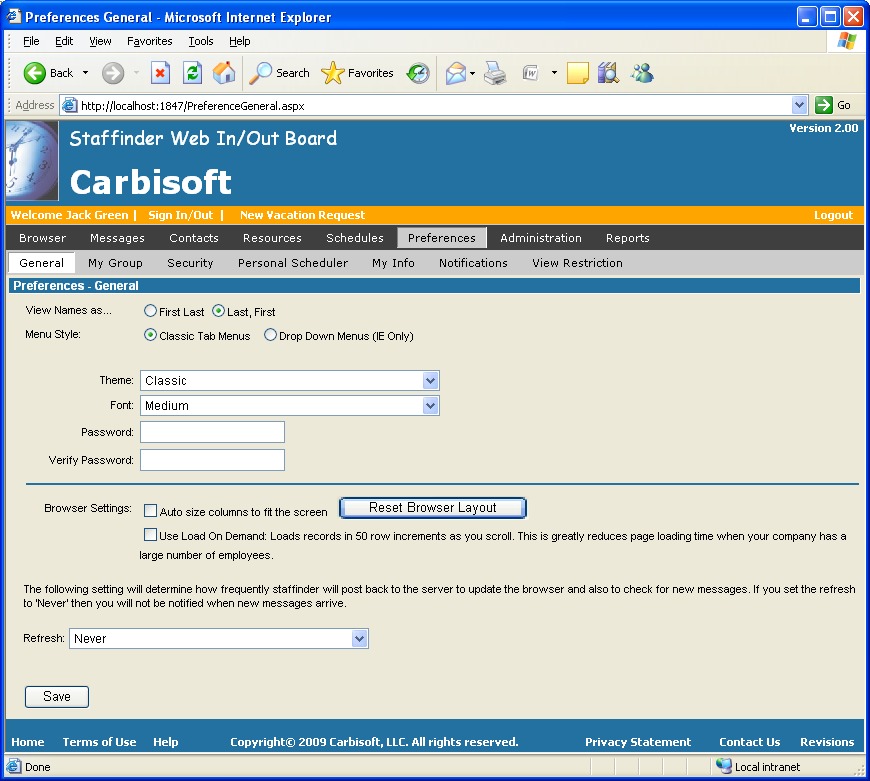
There are only a few settings that can be made to customize Staffinder Web for each individual. You access these setting via the Preferences menu button on the navigation bar. User Preferences are broken down into three (3) screens, they are detailed below: General:
Click the Save button to save your changes.
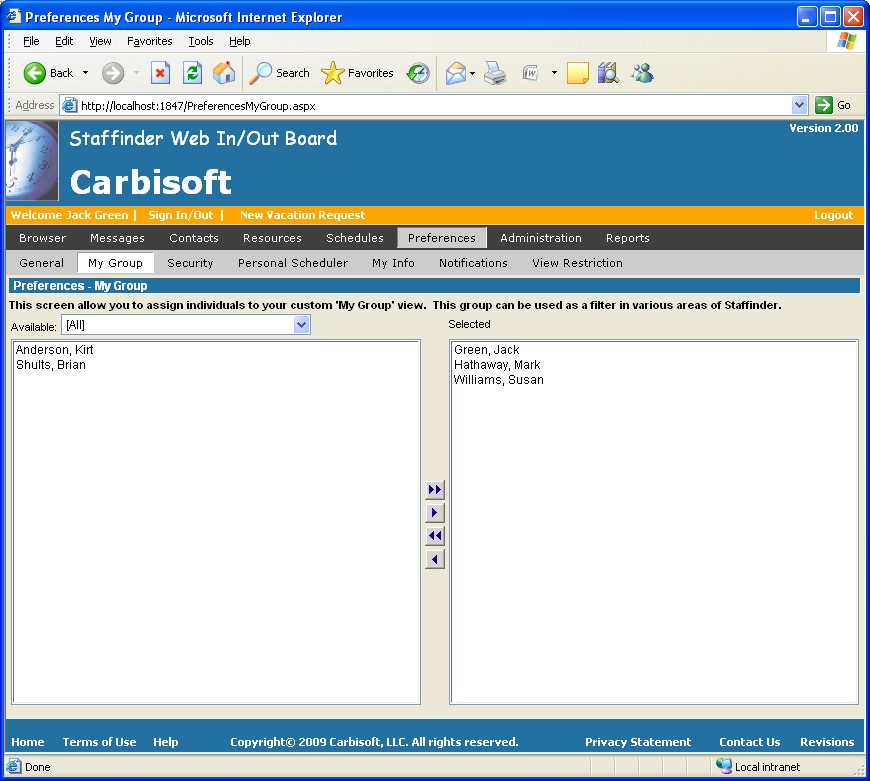
My group is a custom view of individuals you frequently need to track the whereabouts for. In large organizations you may only want to see people who are in your department or area. With this view you can individually select who is in this group to simplify finding people you need. To add a person to the group you highlight the name in the available list and click the right arrow button. To add all the names just click the right double arrow button. To remove a person from the group you select the name in the Selected list and click the Left arrow button. To remove all the names click the Left double arrow button. You may also double-click the name directly in each list to move it to the other side.
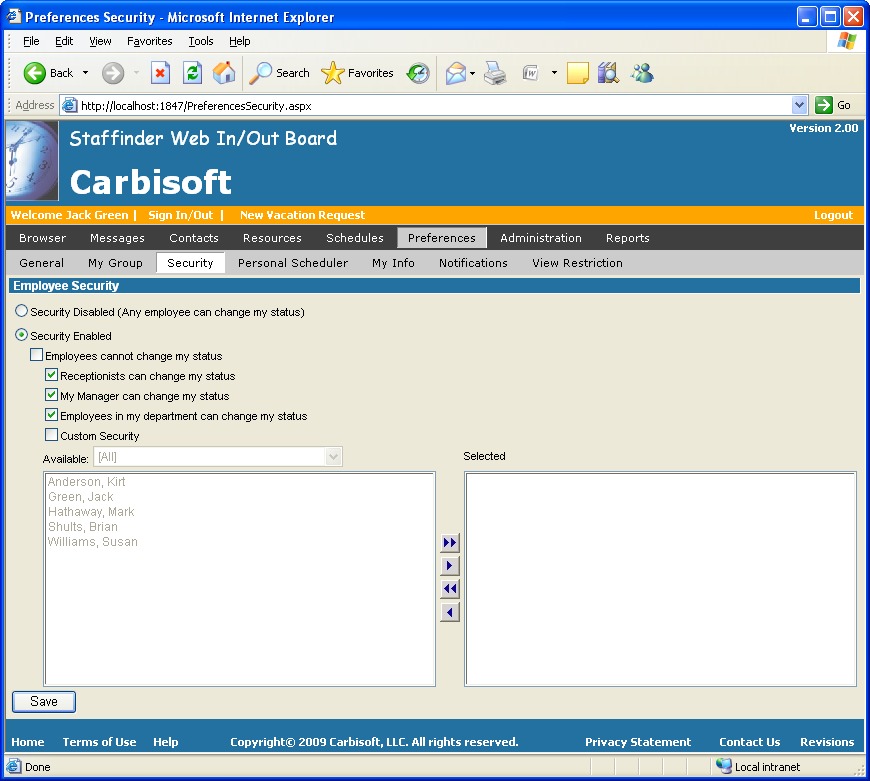
Staffinder contains security settings that allow each employee to manipulate which employees, if any, can change their In/Out status or set their Do Not Disturb flag. Below are the various settings that Staffinder will allow.
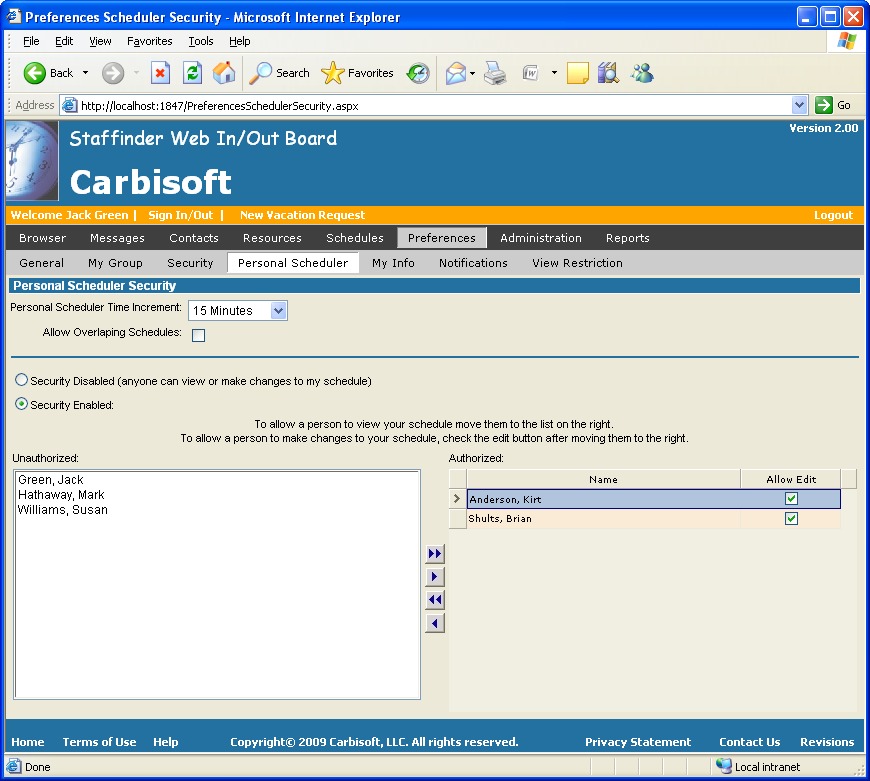
Staffinder will allow you to share you schedule amongst other individuals and even give them edit ability. To allow someone to view your schedule move them from the list on the left to the list on the right. Personal Scheduler Time Increment: This setting determines the time increments that are allowed in your personal scheduler. Allow Overlapping Schedules: This setting determines if overlapping events are allowed. Security Disabled: Click this option if you want to allow all employee access to view and make changes to your schedule. Security Enabled: By selecting this option, you make the individual selections. To add an individual simply click on the individual in the left list and click the right arrow button.
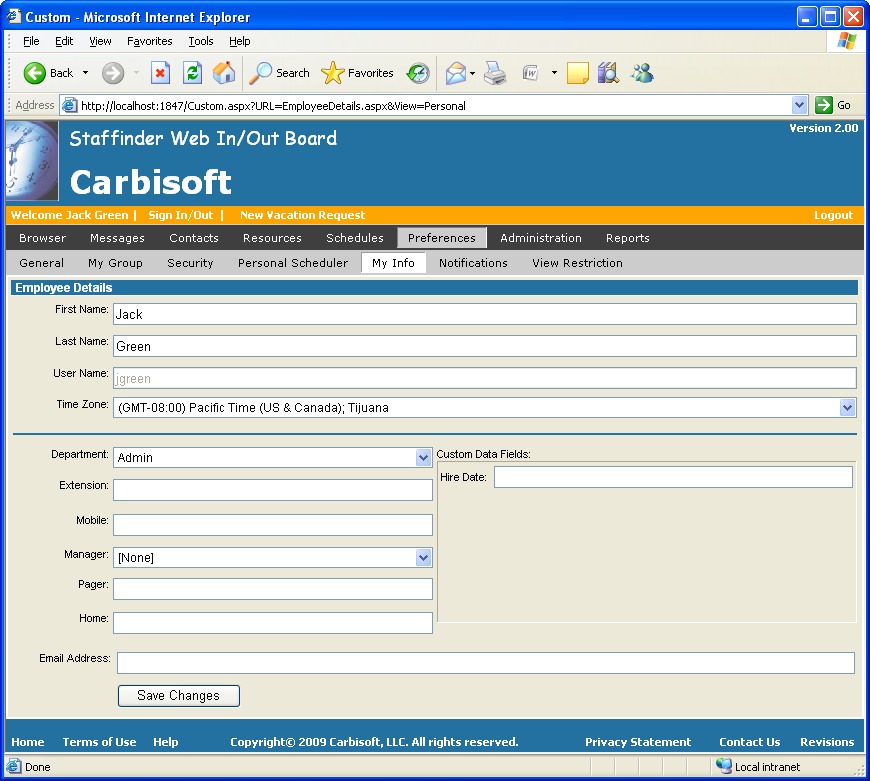
This screen allows you to keep your basic information up to date. You can change this information at any time.
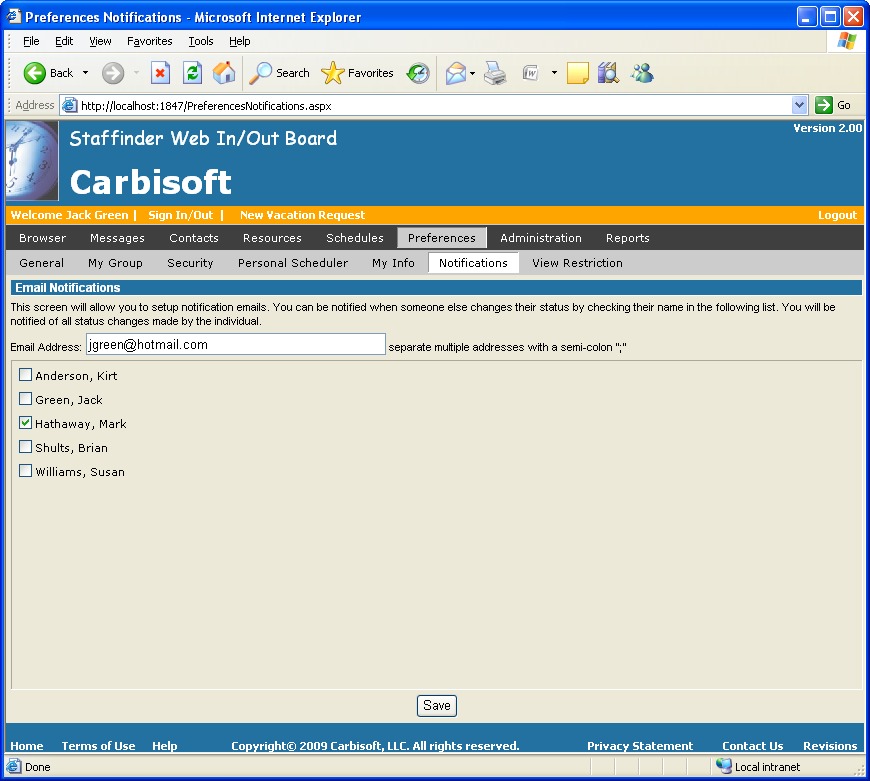
This screen allows you to setup email notifications for individuals so you will receive an email whenever they change their status. Email Address: This is the email address where the notification will be sent. If you wish to have an email sent to multiple addresses you need to separate them with a colon ";". Employee List: Simply put a checkmark next to the individuals who you would like to be notified. This is permanent and you will continue to be notified until you clear the checkmark.
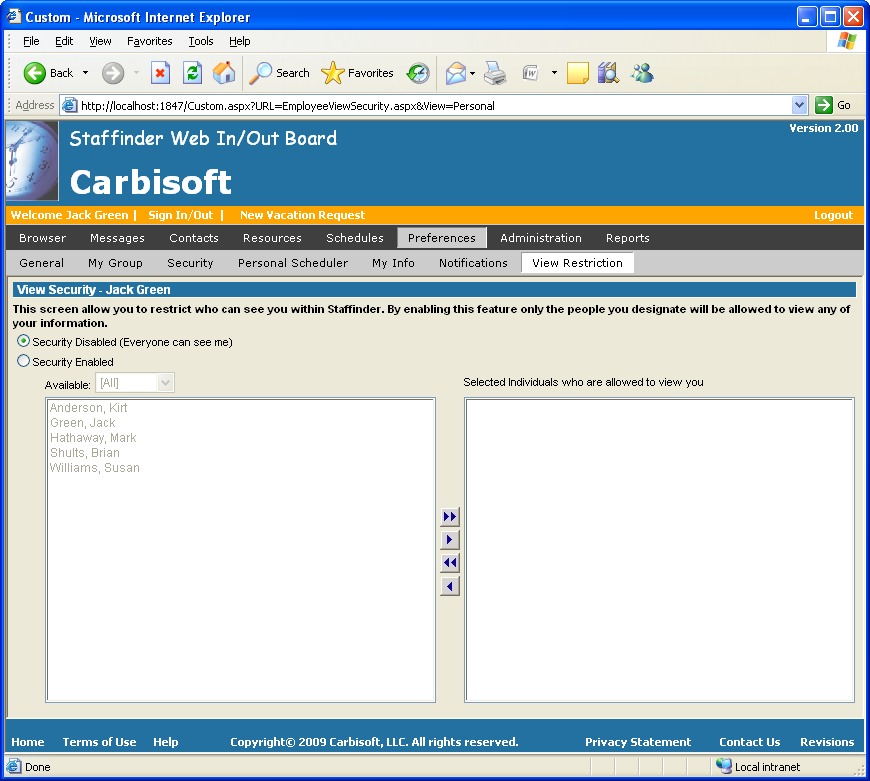
This screen allows you hide yourself from others in your organization. You have the option of specifying who can and cannot see you. This is done on a person by person basis. Those who are not allowed to see you will not see you in the browsers or any of the status screens. You will show up in the various security screens and other administrative areas. This allows others to add you to their security profiles so you can still see them. Security Disabled: Click this option if you want to allow all employee to view you. Security Enabled: By selecting this option, you make the individual selections. To add an individual simply click on the individual in the left list and click the right arrow button. You can also simply double-click on a person in either list to add or remove them.
|
|||||||