Professional Electronic In/Out Board
|
Index | Chapter 1 | Chapter 2 | Chapter 3 | Chapter 4 | Chapter 5 | Chapter 6 Chapter 4 - Advanced Features
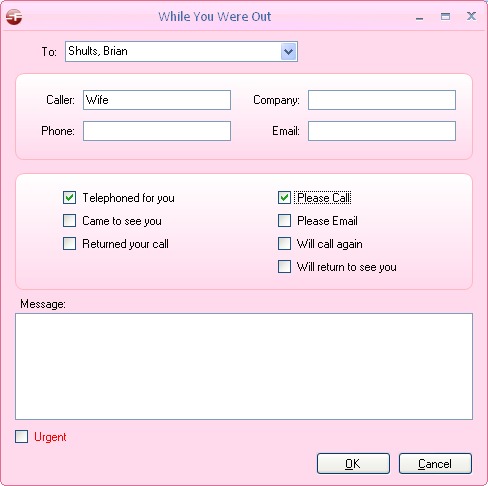
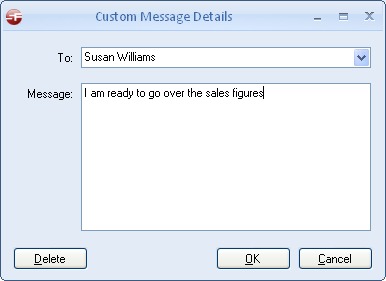
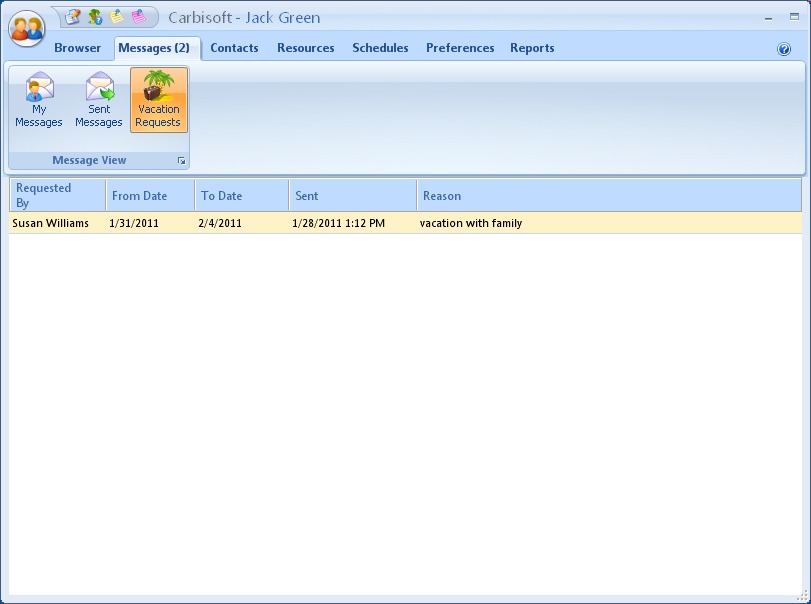
A very cool feature in Staffinder is the ability to send messages to other employees. After you determine another employee is away from the office, the next step might be to send some information about a visitor or caller. Not to be confused with an e-mail system, Staffinder allows users to send "While You Were Out" messages (figure 4.0) to other employees, replacing the standard form typically available in pad form. You can also send a Custom message which is a generic message that can contain anything. The last type of message is a Vacation Request. See Chapter 3 on how to create a Vacation Request. Vacation requests are incomming requests for time off. Only a person designated as a Vacation Request Manager can receive vacation Requests. When you receive a vacation request from an individual you will be notified just like a regular message. To send a message to another employee, either:
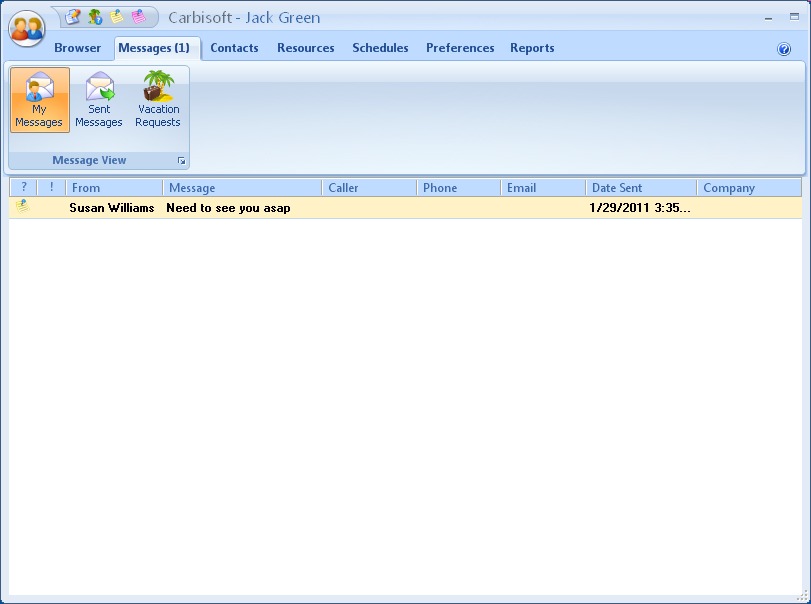
Receiving Messages:
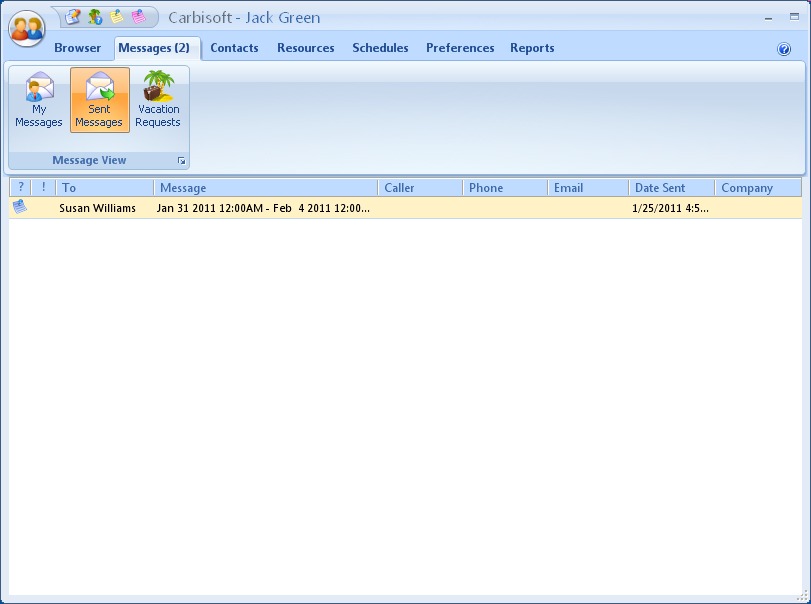
Sent Messages: You can also view the messages that you have sent to others. You can delete them at any time by following the same procedures as the "My Messages". These messages are copies of the original message so you cannot edit the message.
Vacation Requests: As a Vacation Manager you will receive requests from individuals who are requesting time off. This is where you go to view your incomming requests. You cannot delete a request. A request is cleared by Approving or Disapproving the request. Once you respond to the request it will be removed from the list.
Deleting Messages: Here are the 2 methods of deleting a message:
Note: When reading messages, it may appear that you can edit them. However this is not the case. Any data you change in a message sent to you will not be saved.
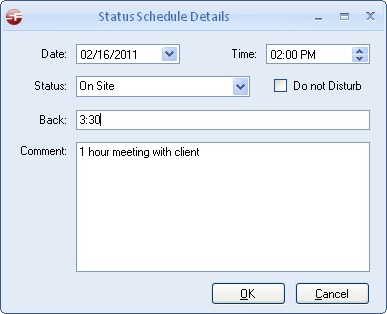
Staffinder has the ability
to setup future status changes. If you know your
schedule ahead of time, such as a sales person on the road, you can
setup staffinder to change your status at a specified time
automatically. With this feature you will be able to create your daily
schedule in the event you will be out of the office but will know your
whereabouts at specific times.Add or Modify a Schedule: Delete a Schedule:
Index | Chapter 1 | Chapter 2 | Chapter 3 | Chapter 4 | Chapter 5 | Chapter 6 |